Monday, June 9, 2014

Man Soap Monday: Tobacco & Bay Leaf

from papa's tobacco plant last year


  I have been looking for a tobacco fragrance for a long time, so when I found thus I was so so happy! You may ask why I wanted a tobacco scent so bad and it is because of my grandfather. Growing up in rural Virginia my grandfather grew up on a tobacco farm. So he spent his time helping out on the farm, he even missed a year of collage because his dad needed help running the farm. Now at age 79 he still every summer gets a single tobacco plant (called the king of the garden) and grows, harvests it the proper way, and cures it, he doesn't do any thing with the cured tobacco he just likes doing so. For my grandfather's birthday I wanted to give him a soap with the scent of fresh/curing tobacco (not burning tobacco). So finally I found the Tobacco and bay leaf FO at Bramble Berry and I ordered it that very day and I am super happy with how it smelt and how turned out so let's hope he likes it too!


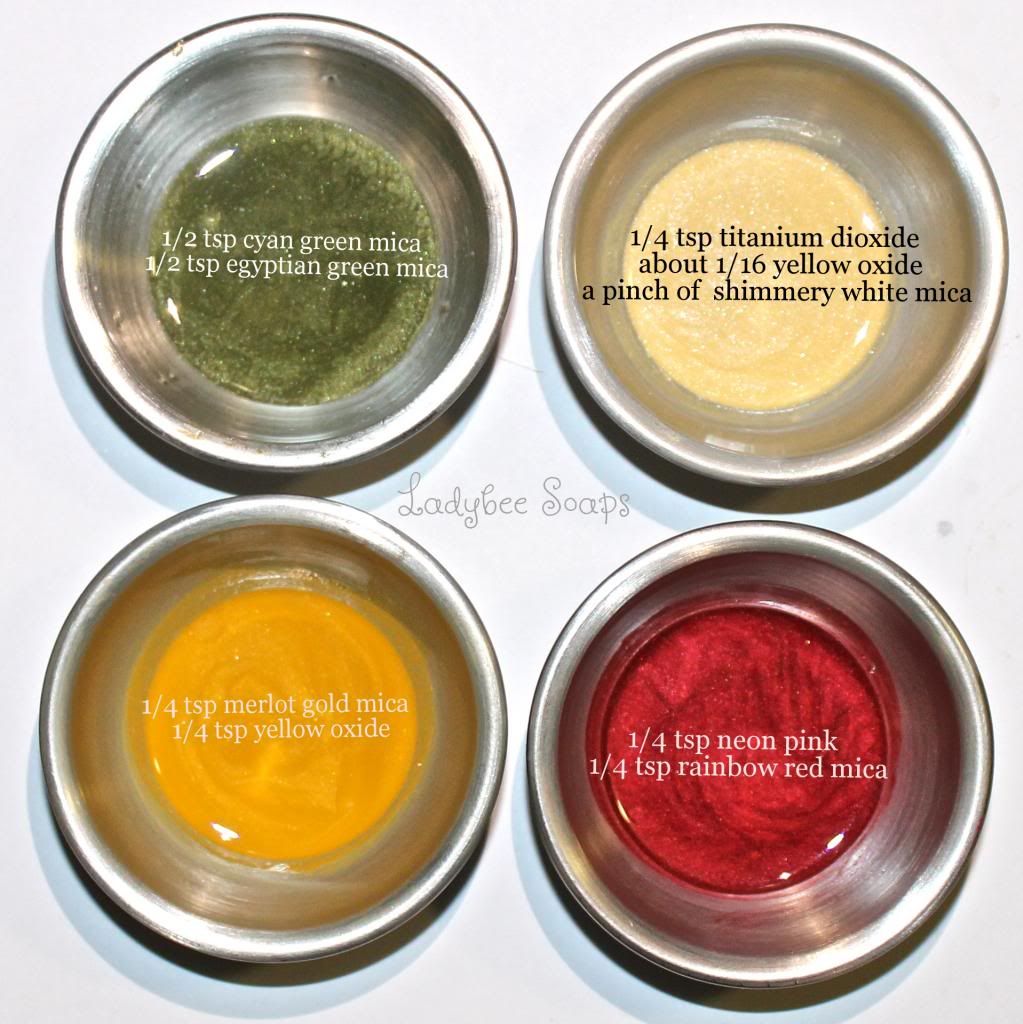
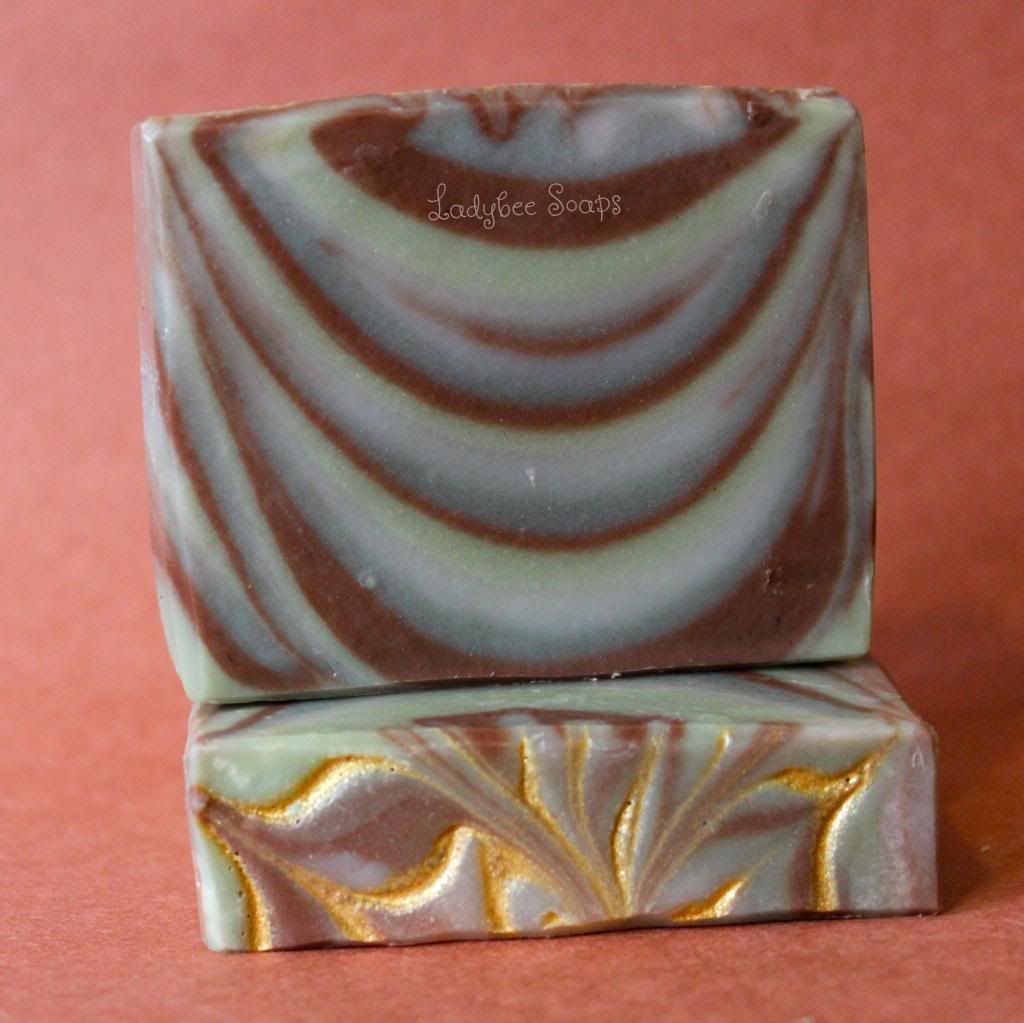
     For the colors I was inspired by the different shades of the tobacco plant during the curing process. Using my grandpa's plant as a color guide I chose green, a limey- yellow green and two shades of brown. Next was the design, after really thinking about it I decided on the funnel pour since I have only done it once and it results in beautiful bars. To get the highest contrast I alternated the brown(1) /green(1)/ brown(2) / green(2). Finally as an accent I added a mica swirl on top the actually resembled a gods eye. I started adding rings of mica starting in the center and then when complete with that i pulled the micas in, starting at the edge and ending in the center. After doing that around eight times I started to do the opposite, and in between the existing spires I started at the center and pulled out the mica this time.


Here's are some quick little hints when doing a funnel pour
    1. count out how long you are pouring each color, this will give you more even layers (I counted to three for this batch)
     2. have a steady base elevating  the funnel from the soap AND make sure the bottom of the funnel is above the mold. I use 2 duct-tape card board ring things(you know what I'm talkin about right?) on top of each other.
    3. use high contrast colors to get the most dramatic result! If you chose colors in the same color family it gets you an ombre effect.
     4. last but not least use a slow moving fragrance oil! thick soap clogs up the funnel and the final soap just doesn't seem to as look as good to me.


Thanks for stopping by and look out for more Man Soap Mondays!


Saturday, May 31, 2014

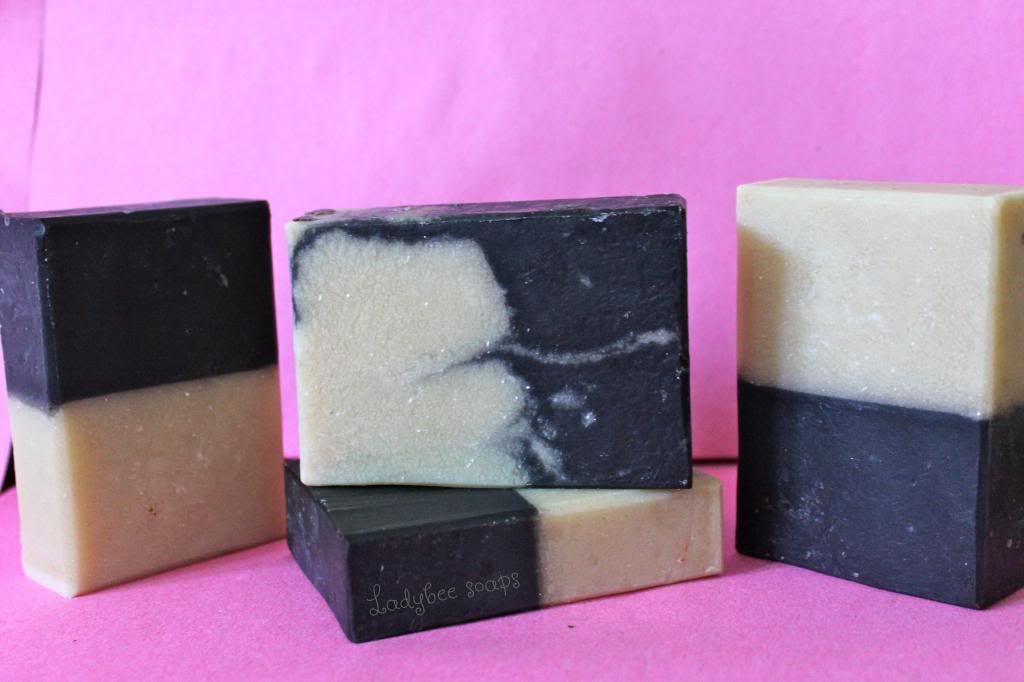
Spring Soap Crafting Club Part I: Black and White Soap + a Bonus Soap!

     Hey guys! Sorry it has been a while but the last few weeks have been very busy. Tonight won't be a long post so let's just dive right in!

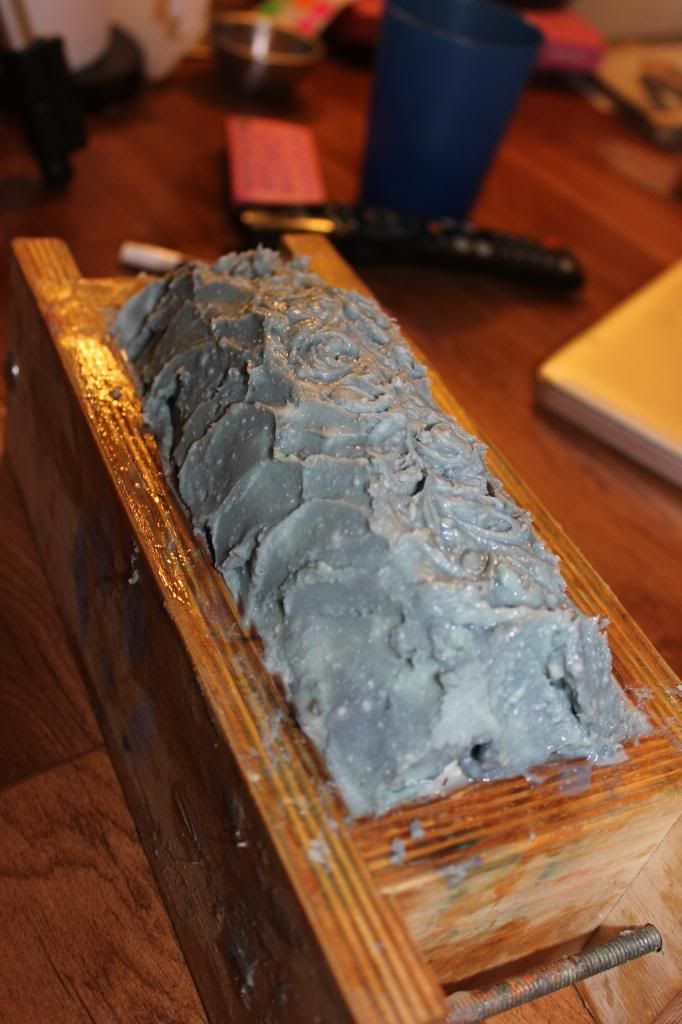
     So I got my first package from the summer Soap crafting club (for more info on the SCC go here), and I was super excited because it came with Bramble Berry's vertical mold! This months soap soap was simply called the back and white soap (for obvious reasons) and was scented with pepperberry (the white side) and a 50/50 blend of cream cheese frosting and cinnamon sugar (black side). Out of the bottle I didn't think I would like it, the pepperberry smells like something during christmas (can't put my finger on it) and the cream cheese frosting and cinnamon sugar blend smelled like a pumpkin spice cake factory exploded and its fumes bottled. But, after I soaped it this soap smells devine! Even my mother, who hates food scents love the smell of this bar, it is spicy and rich and just oh so yummy! I won't really go into the design today because on Monday or Tuesday I will be posting the making video and you can get all the juicy details on this soap!


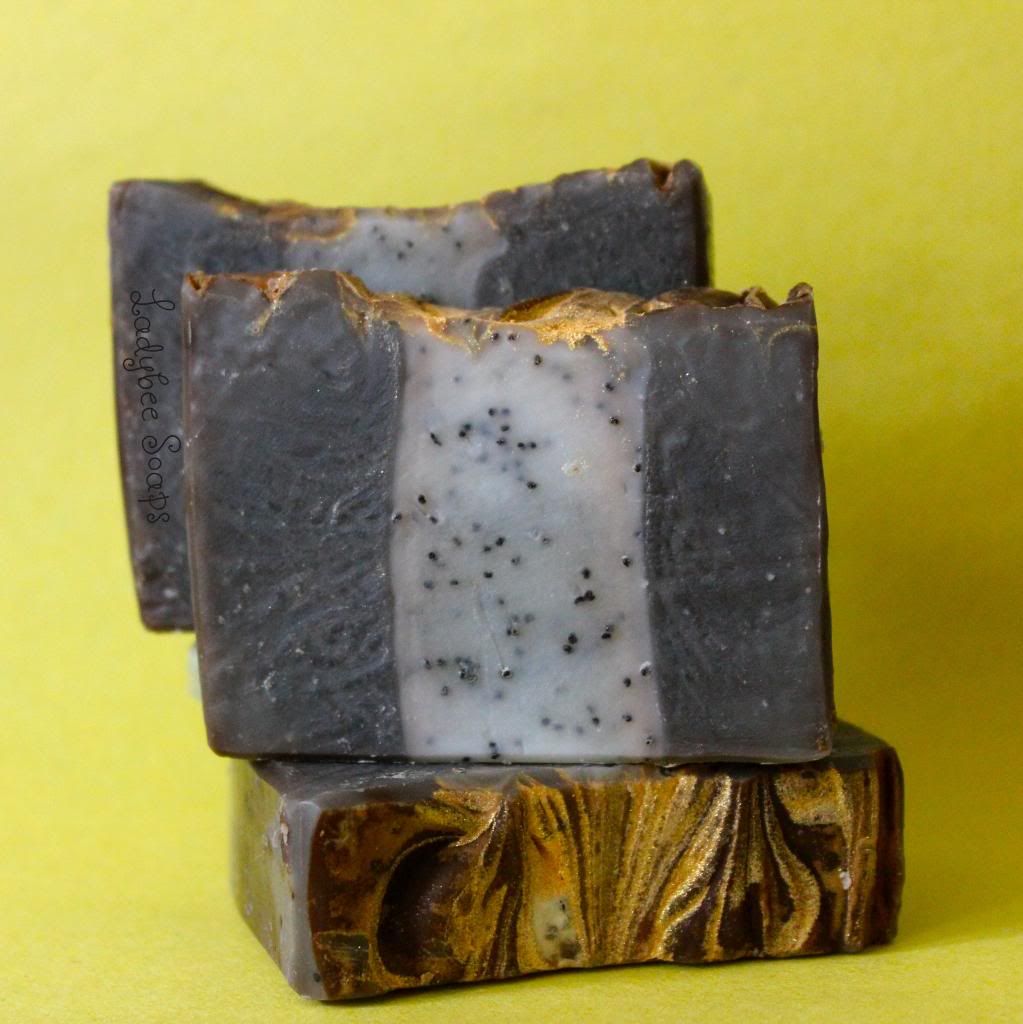
     I also wanted to share some pictures of a soap I made with my friend a while back as a little bonus soap since this was such a short post!


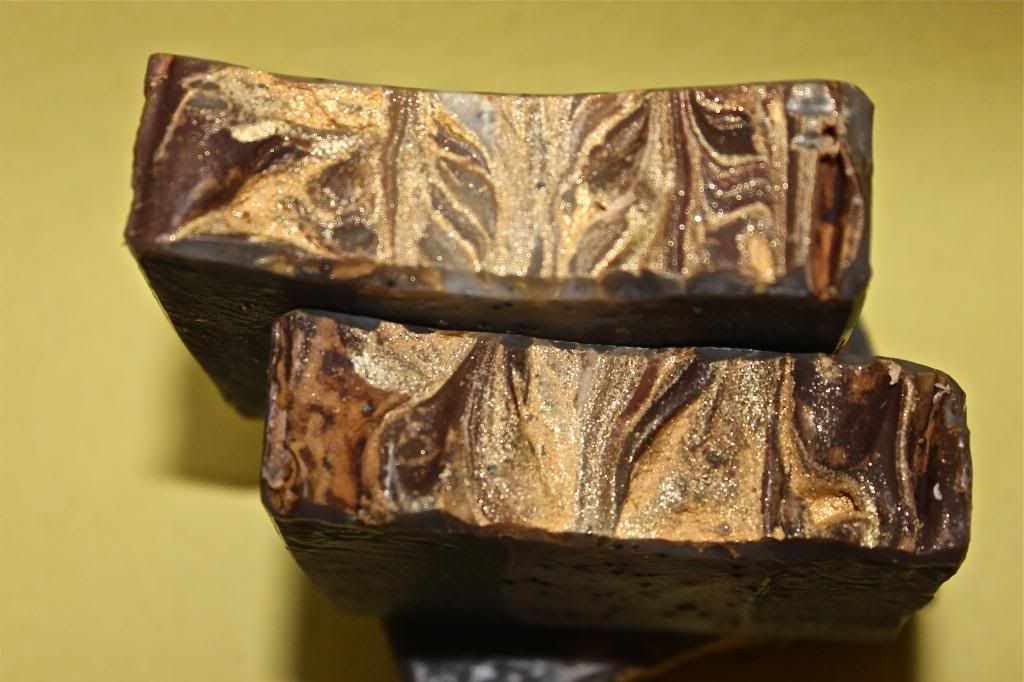
     We made this super fast so it isn't my best work but I still like it! The black (well grey) portions are scented with warm vanilla from Wholesale Supplies plus and the gold and black mica is from the Conservatorie. The white portion is unscented so the vanilla content won't discolor it and the little black spots are poppy seed, to represent the vanilla seeds.


     Even though it had been about four weeks after cutting when I took these pictures you can see only the tops have discoloured. I was just wondering if y'all have experienced this because my other soaps brown faster and more evenly then this. A side note on this batch is it will also have a video.... a very interesting video, let's just say it is best for me to soap alone :).


Happy soaping and look out for a new series coming next Monday!

Wednesday, May 14, 2014

Soaping videos!

    Since I was at the beach with good internet I went ahead and uploaded all the videos of soaps I have already blogged about (and maybe one ore two more, but you will have to subscribe to my channel to see;) ). I am going to do the videos from newest to oldest. I will link the videos to their corosponding blog post , which the videos are now a part of the post. Now I won't make you wait any longer so here are the videos!


Surplus Honeysuckle Soap


Hi guys! I am the beach this week and have an old soap I forgot to post to share with y'all. My mom's birthday was in the beginning of April so I made a soap for her 4 weeks early to allow cure (yes I am that late). While I mentioned it I will say the beach is great and I would show you pictures but I left my memory card for the camera at home :(. I will say I haven't been spending much on the beach since I am a red-head and on the first day I got my back totally fried so I am just staying a way from the sun like a little vampire.


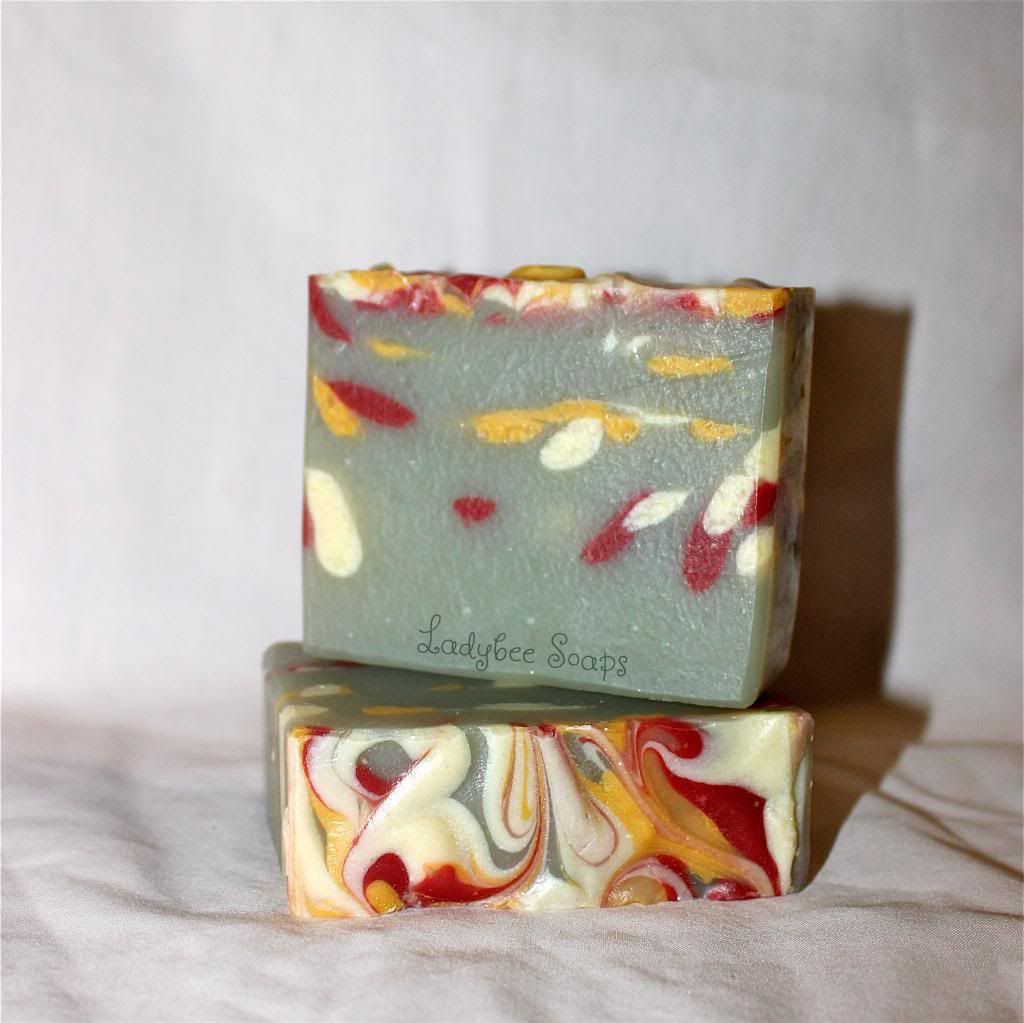
  So for my mom's special batch I made a batch with one of her favorite scents, honeysuckle. Living in the south and in the country we have wild plants every where, and if you didn't grow up or live down here you may not know that not only do they smell good but every summer we drink that little drop of nectar in the flower and it reminds my mom of her childhood.  I use surplus honeysuckle from BB which smells so good and a bonus it is also very cheap (around $8.50 for 8 oz)! For colors I wanted it to looks like the honeysuckle flowers on the bush so I used green as the base and for the 'flowers' I used three different colors, the off-white and yellow are different shades that the wild (and tasty) flowers  come in, and the red (which was supposed lighter) represents a decretive honeysuckle plant in our garden.


    I used a new technique I thought of, I guess you may consider it kind of a drop swirl?? You can see how I do it in my video (yes I can upload videos at the beach house!), but I will tell you here a brief description of what I did.  So I split off a third of the soap maybe and divided it among three squeeze bottles with and mixed the three flower colors into them and then colored the left over 2/3 soap batter green. I poured the green about a quarter of the way up the mold and then squirted the three colors in an up and motion with three or four passes of each color, and then repeated this method around three more times or until the mold is full. Then on the top T squirted the left over soap in the squirt bottles on top and swirled with a chop stick! I like how this method turned out but I may try it again with a very slow FO because while surplus honeysuckle isn't like really fast it still set up enough so the the accent colors didn't penetrate the green as much as I wanted it to so it left the colors in lines and not distributed throughout the whole bar.

     Here is the making video so you have a better idea of how I did it

Friday, May 2, 2014

Summer Showers, CP+MP

     The past few days have have been rainy here in Viginia meaning lots of indoor (therefore soap) time and a bonus it inspired me to make my latest soap!


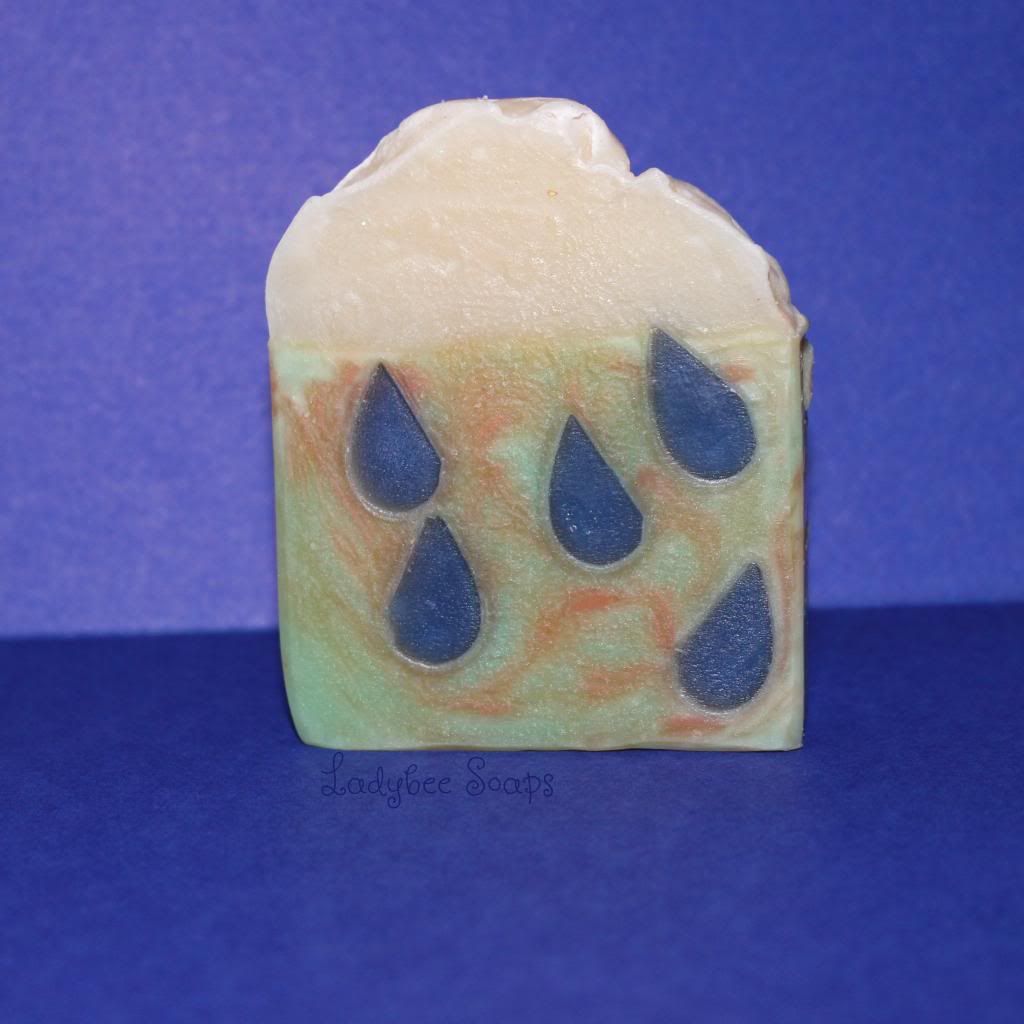
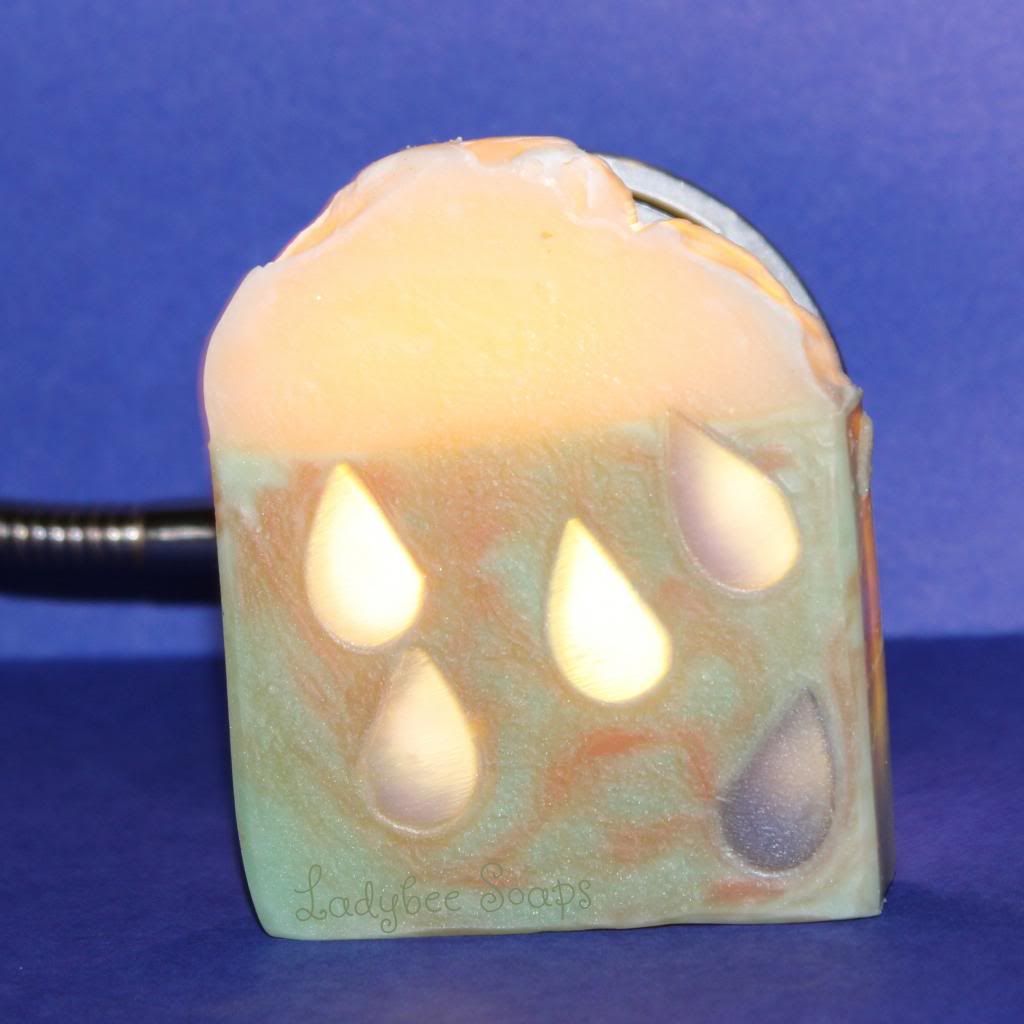
     Since the FO I used was flowering herb, which soaped like a dream btw, I did my base as a green with a touch of coral as a plants with coral representing the flowers. I am really proud of myself for my raindrops. They are made with clear melt and pour soap (tinted with blue mica) and I poured them in my heart silicone mini column mold and then cut my hearts in half to make the tear drop shape!


     Look! you can see through the rain drops (it needed help for the camera though)!!!!!! Is it sad how much this excited(and still does excite) me?

Thanks for stopping by and happy soaping!


*video added on 5/4/14*

Sunday, April 27, 2014

Georgia O'Keeffe Inspired Soap


     In February I went to NYC to go to the Westminster dog show, and while there went to some museums. We went to the Museum of Modern arts and the Whitney (where I took a ton of pictures) and while going through I found inspiration. It is a Georgia O'Keeffe oil on canvas painting at the Whitney but I cannot remember the name (If you know it comment below). It reminds me of an abstract river type thing.

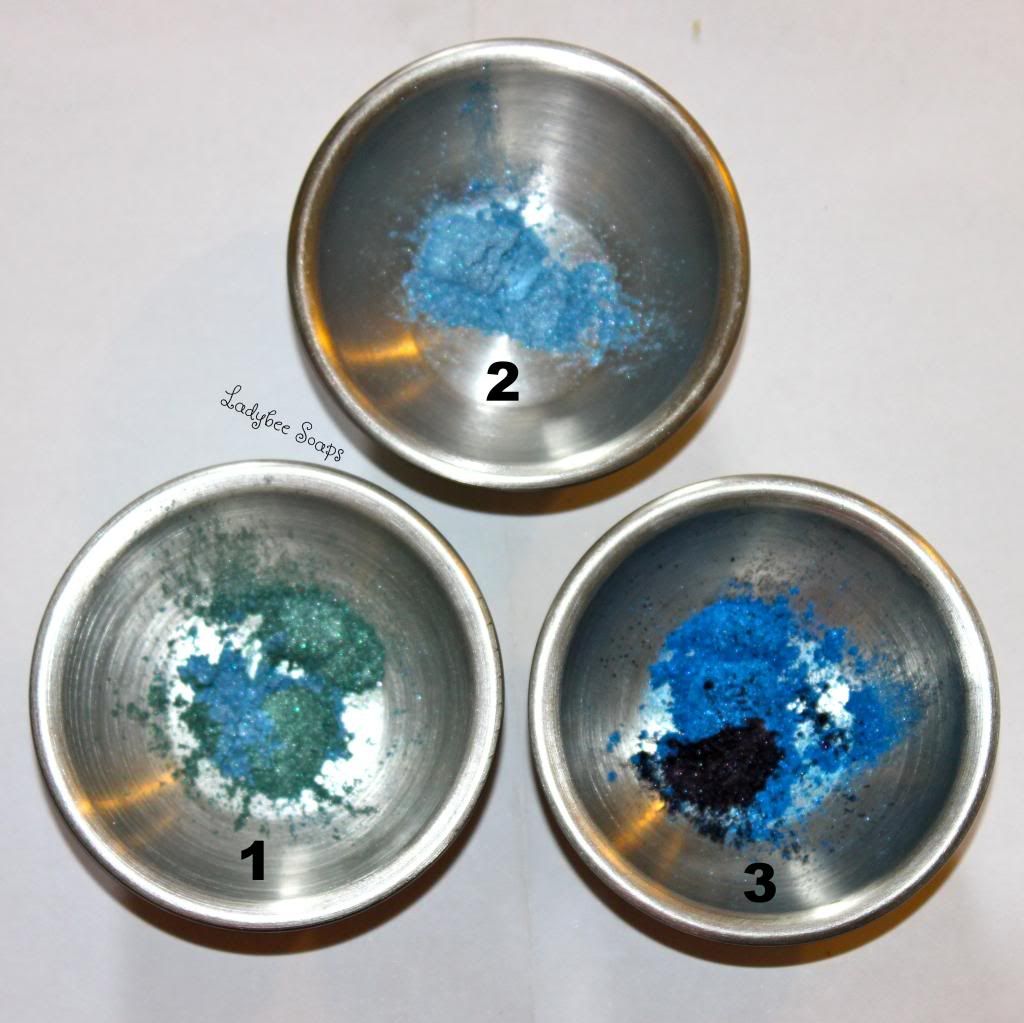
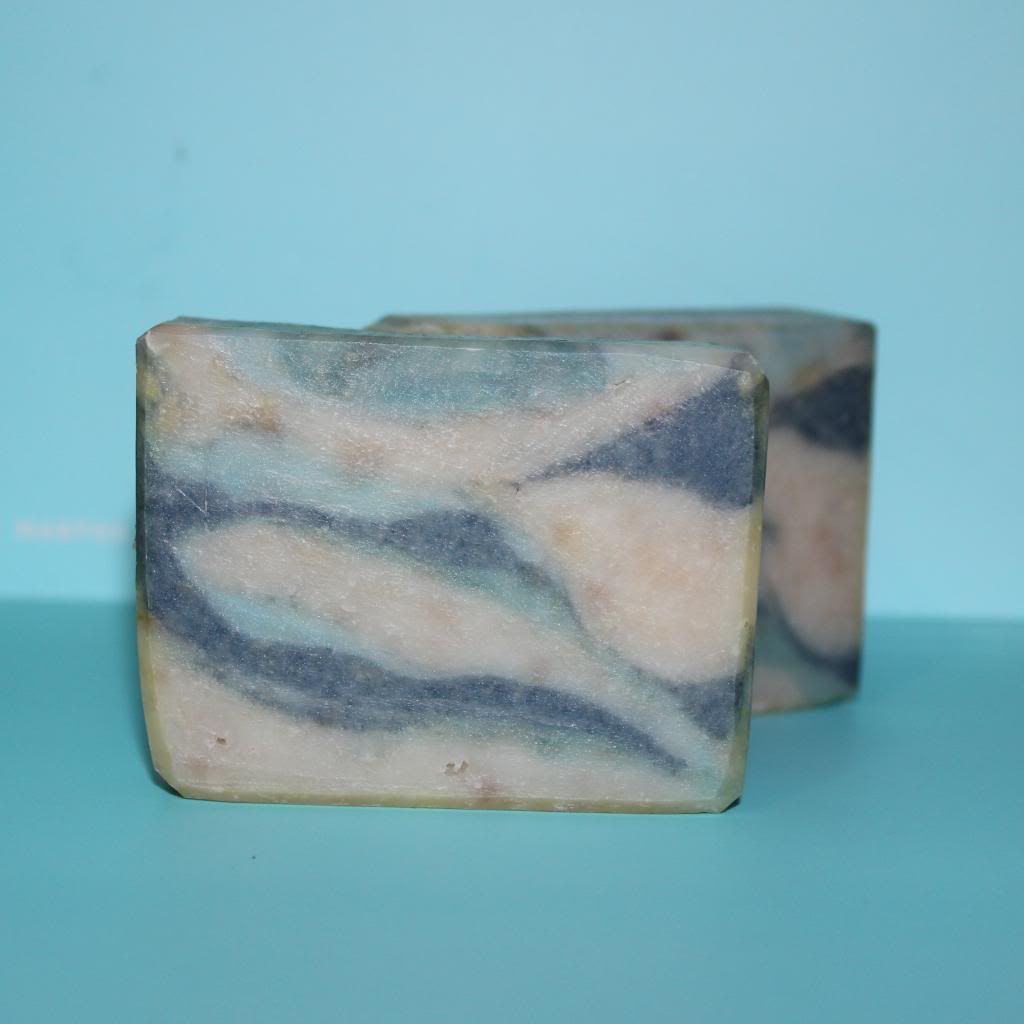
     First decision was the scent, being a river painting I chose a water type fragrance, Aqua Spa (at .5oz ppo) from wholesale supplies plus. When I added it to the soap  it formed white spots in the batter which turned brown innthe cured bars. Then colors, I used the four main colors of the painting, off white, dark blue, light blue, and teal. Finally was how to pull off the design, it is hard to explain when I can upload the video and you can actually see what I did I the explanation confusing.

  1. 1/4 tsp shimmering sea foam mica + 1/8 tsp cambridge blue mica (1 cup)
  2. 1/4 tsp cambridge blue mica (1 cup)
  3. 1/4 tsp peacock blue mica +1/8 tsp petunia mica + 1/816 tsp espresso black mica (2 cup)


    OK here it goes...
     First off is the soap was at a medium to thick trace but mor on the thicker side. First I tilted the mold and added the uncolored batter so it just came to the elevated end. Then came the colors, I added a touch of teal to the shallow end and then probably added an thick layer (1/8-1/4 inch) of  dark blue and the same amount of light blue on top. Then  while still tilted I added a thick white layer, but making sure a bit of the color was still showing on the shallow end. Then I  set my soap down on a level serface and repeated the colors making sure the two colored layers touch on one side. THEn I made sure to add white to one side (the side that was the shallow side) and then added some dark blue to the top of that and covered the whole thing with white. I piled the left over colors on top, which I eventually cut off. Hope this helps?!   and I will hopefully get the video up soon!


** video added on 5/14/14**


Thanks for stopping by and happy soaping!


Monday, April 21, 2014

Orange Sapphire Soap

     Recently I have been on a soaping spree but haven't gotten around to sharing with you because of videos... Where I live we have satellite internet (sooo close to fios but it stops a mile from my house) this means we have only get certain amount of data we can use a day. This means no uploading (or watching) youtube unless we don't want to use the internet for 24 hours. So since I can only upload when visiting my sister in town I have decided that I will just post the soaps and upload videos in mass. When I can and I will put them all into one post when they are up + add the videos to the proper post!

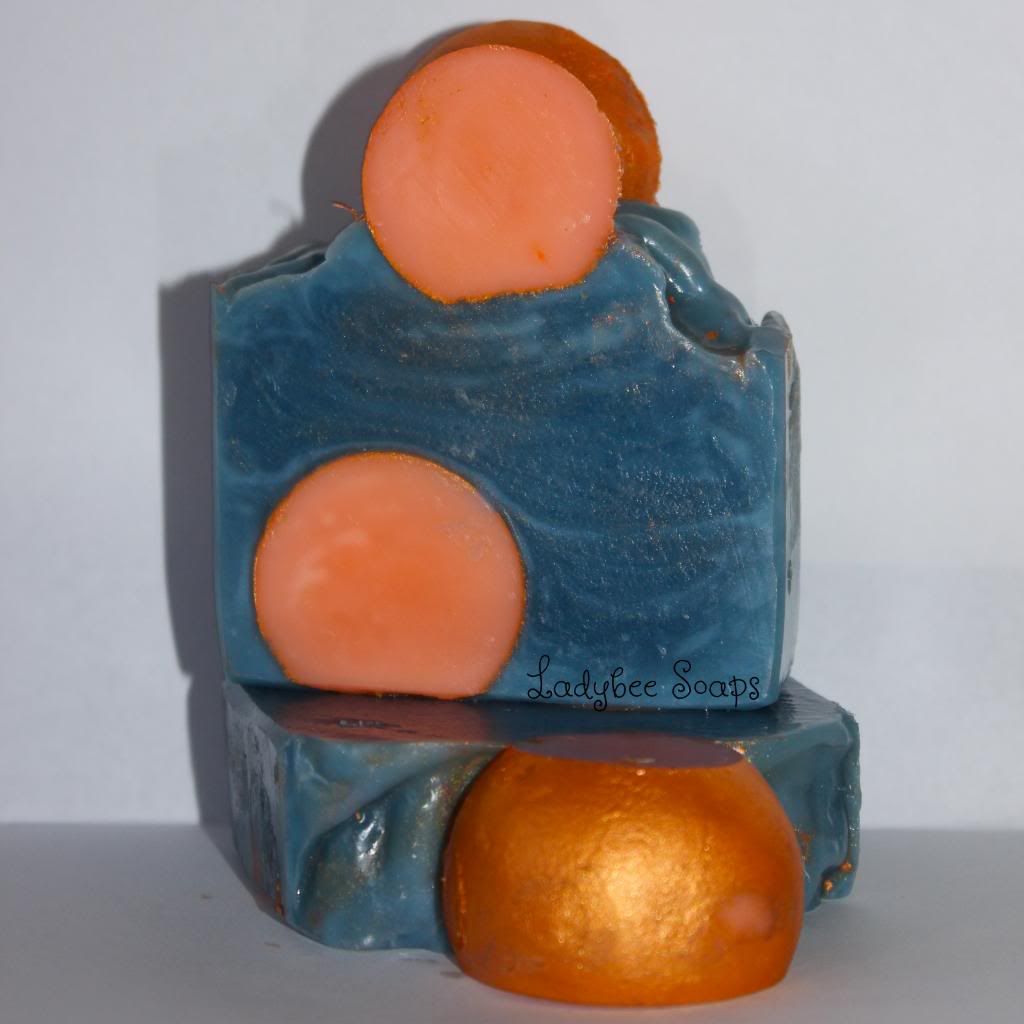
     Back to soap! Ever since I got the scent Orange Sapphire (from WSP) I have had the design in my head, orange balls surounded by a sapphire base (I am so creative...).  So when I made a bunch of embeds I including three different sized orange balls that was needed for this soap. Then in order to make it look more orange-like I dusted the embeds with orange mica, while this is a pretty technique it is SO messy I swear there was orange mica on me for days. The soap was super easy though, a one color soap at thick trace and putting some balls here and there, how much easier could it get?


     The final notes are that this fragrance soaped great at .5 oz per pound of oil, to achieve the blue I used 3/4 tsp sapphire mica, 1/4 tsp ultramarine blue, and 1/8 tsp espresso martini mica. And as a bonus with the added 20 or so ounces of soap oranges I was able to fill up both of my two pound loaf molds!

Thanks for stopping by and happy soaping!


***UPDATED to add video!***

Monday, April 14, 2014

Lavender Crazy

     They say diamonds are a girl's best friend, but lavender is a close second! Lavender is on of my favorite things, I love the flower, the flavor (lavender lemon goat cheese *yum*), and of course the smell! It is a fresh, green, herbal, and floral, year round scent plus it comes as an all natural essential oil. There for it is only natural to put it into all different kinds of products.

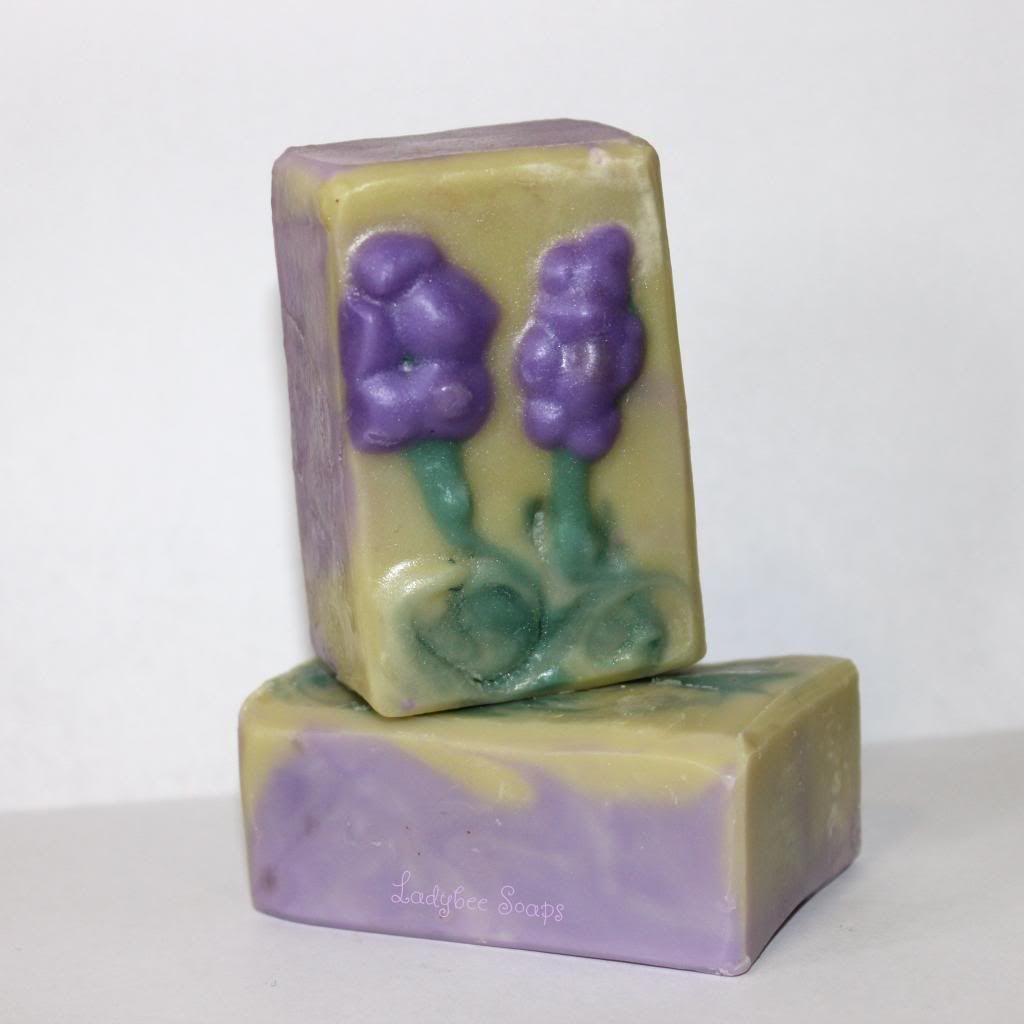
    I finally made some lavender EO cold process soap which I haven't done in forever (since my first ever batch!). Knowing lavender goes fairly slow I wanted to do a fun design. I ended up going for layers with a picture of a lavender plant made with squeeze bottles... It did not go well the stems are to thick, the buds awkward looking. So out of 9 bars I have one pretty one but thats how it goes, not every batch goes perfectly.

@@   
A few notes on the soap-
-.75 oz ppo of Lavender 40/42
colors used were....  

1. violet mica (both  flower buds and first layer of base)
2. golden jade mica (green portion of base)
3. shimmering sea foam mica (stems)


     Some key benefits of lavender essential oil (according to aromatherapy) include its relaxing and calming abilities. When I come home from a long day I get in my tub with a lavender bath bomb to take advantage of it relaxing effect, plus it also helps relieve some headaches that come from the fore mentioned crazy day!


A few notes on the bath bombs-
-5mL of Lavender 40/42 for 1lb of mix
-mixed into the base are calendula petals and lavender buds
-It is colored with lilac La Bomb (from Bramble Berry)


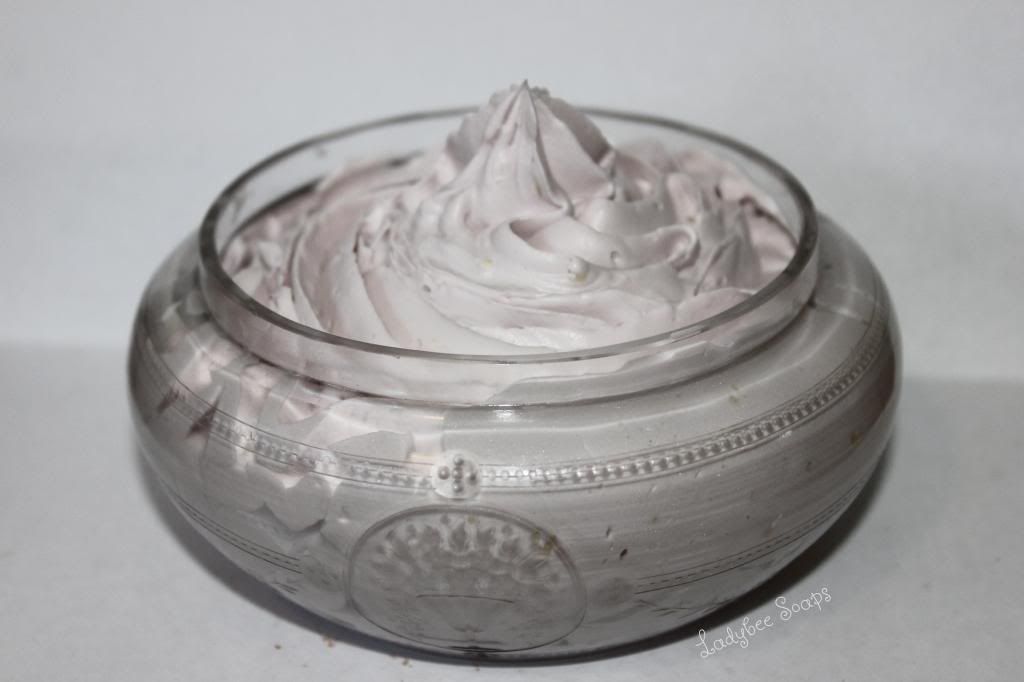
     Finally since both of these don't let the scent stick very well I make a lavender whipped body butter! Soon I will try to make lotion but preservitives and microbes scare me :O.  I use my whipped body butter every night on my hands, legs, and feet (feet followed by socks to keep all the moisture in).


     A few notes on body butter-
- colored with violet mica
-scented with 10 mL of lavender 40/42 for 22oz of base
- label made by me on word, stuck on with clear packing tape (it's water proof ;) )


Thanks for stopping by and happy soaping!
PS visit my youtube channel for a mica haul!
Related Posts Plugin for WordPress, Blogger...